Bishops College
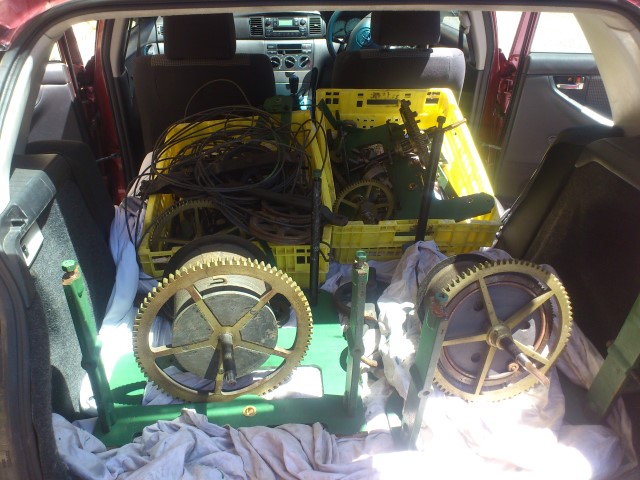
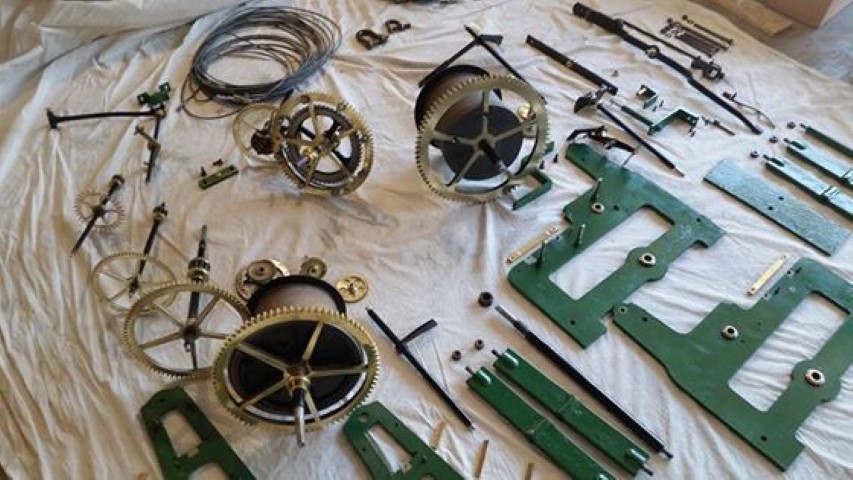
1. The clock was dismantled and transported to my workshop. At this stage a basic inspection was done and both the clock and strike mechanism were inspected for wear and faults. It was discovered that most of the problems with the mechanism were corrosion related.
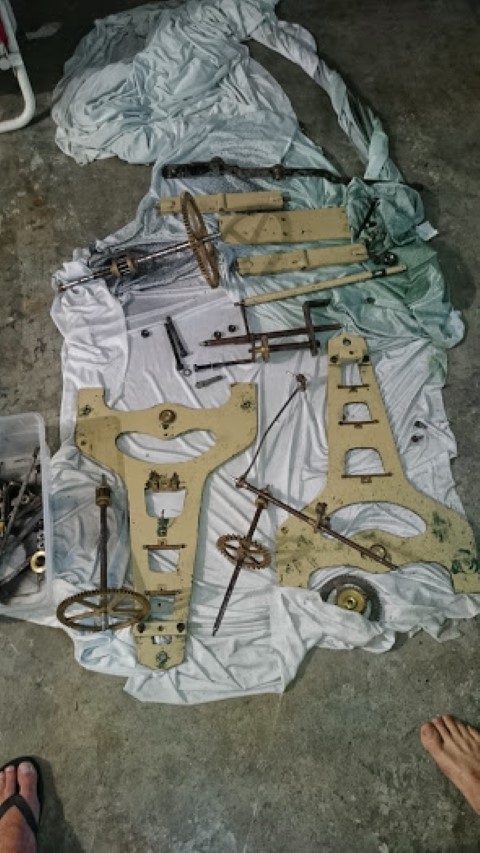
2. The mechanism was completely dis-assembled and soaked in a chemical solution to remove old paint and clean off any trace of grease or oil. This solution only removes surface corrosion and lubricants. The parts were then dried and inspected.
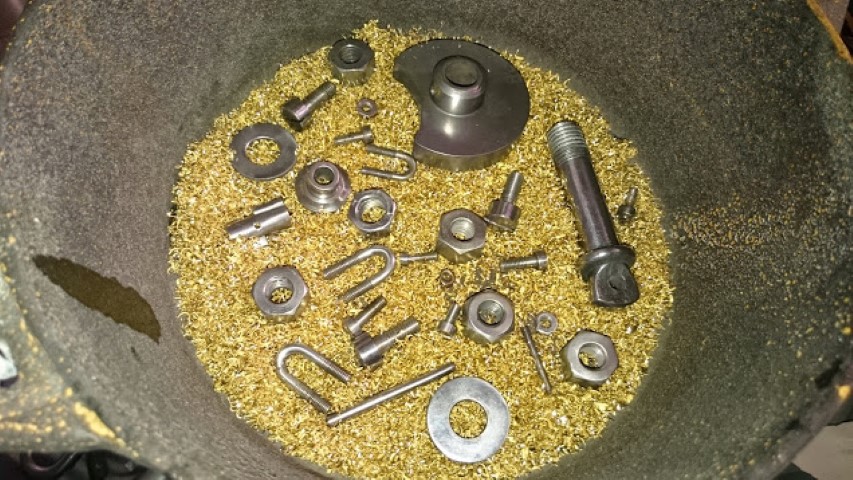
3. All parts were then sandblasted in two stages, once with a corrosive sand to remove rust and undercoat or paint (primer). All the screws, springs, bolts and levers were also sandblasted at this stage. Once the sandblasting was complete all the brass/phosphor bronze part were taped off in preparation for spraying.
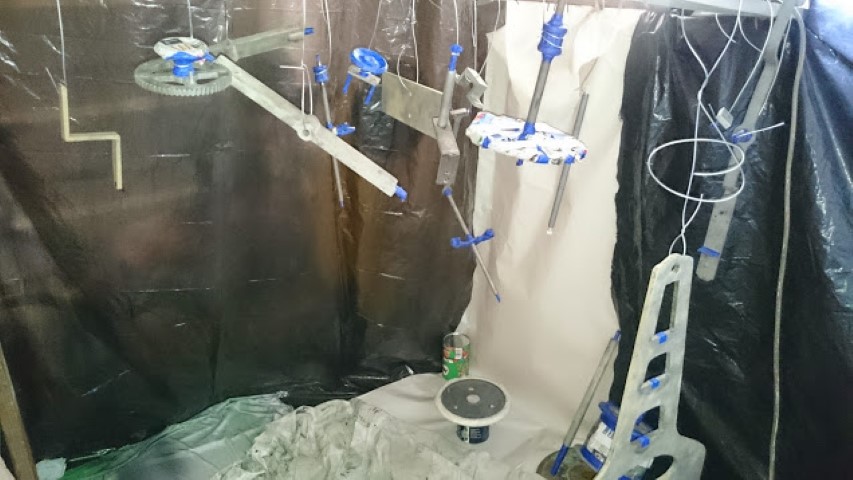
4. All metal parts were coated with an industrial 2k primer and then with a colour matching coat of industrial 2k paint.
5. Once the paint had cured the tape was removed and paints were inspected. At this stage all parts were prepped for polishing. All the brass parts were polished in three stages. First stage an abrasive polishing disc and paste. Second stage a medium polishing disc and paste and then a final polish was done with a fine disc and compound. This is both aesthetic and ensures all the metal is corrosion free and clean. The left over polishing paste and residue is then removed with a chemical that evaporates very quickly to ensure no further corrosion takes place.
6. All the steel screw, nuts and bolts were polished in the same manner in preparation for blueing. Once polished the parts were bedded into fine brass filings and heated until they reached a temperature which caused them to turn blue. This is a traditional method used to preserve metals. The parts are heated until blue and then dropped into oil. This is both aesthetic and functional. The aesthetic side is the blue is a nice look the functionality is because when metal is heated it expands allowing the micro pores to open this would only be seen under a microscope but with the pores open the metals dropped into oil which penetrates the metal giving it a protective layer which prevents excessive corrosion in the future.
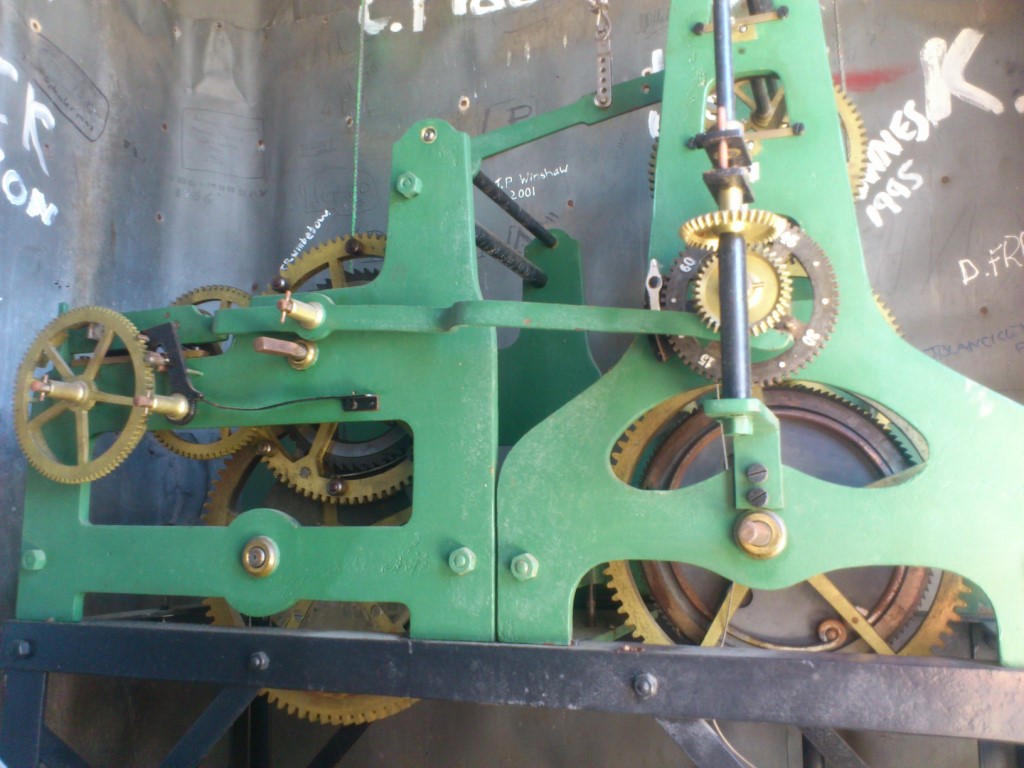
7. The clock was then set out for inspection and final touch ups and polishing were done.
8. The clock was then assembled. The timing on the strike side was checked. The bushings, pivots and levers were tested.
9. During the process the hands were painted and the cables were cleaned in the same anti corrosive chemicals.
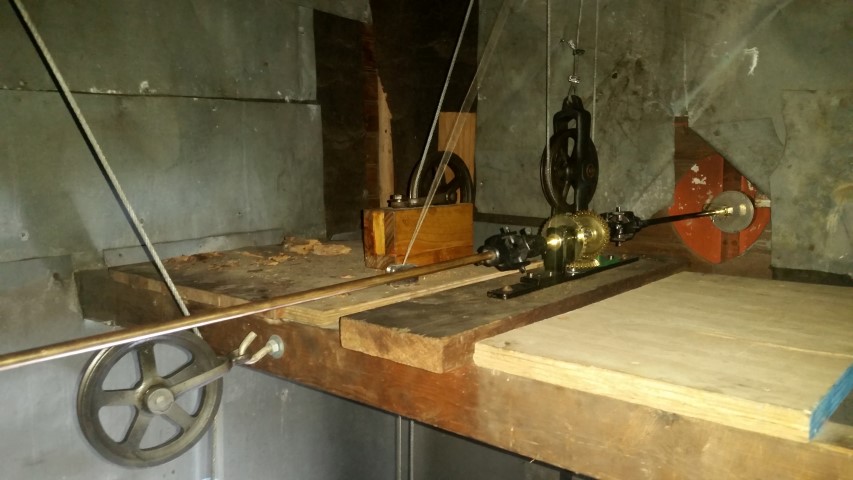
10. All the mechanics running up from the clock to the top section which drive the hands went through the same process.
11. The mechanisms were transported back to the tower. We then dismantled and carried them into the tower. The clock was re-assembled and installed. The hands were fitted and synchronized. The bars running to the top section were fitted and synchronized. The cables were re-fitted and tested. The mechanism was checked and the timing was set on the strike side.
12. During the repair it was noted that the wooden barrel on the going (time side) of the mechanism had a large crack ( both barrels are wooden). This was filled with Sekaflex epoxy 2 part glue and tested for stability.
13. The weights and framework were repainted. The weights were wire brushed to remove excess rust. Then painted with a rust converter and with a black enamel paint. The frame of the mechanism was painted with a black enamel paint before restoring the mechanism.
14. The cable running to the silencing system was re-fitted and checked. The cable used to counterweight the trap door was replaced.
15. The clock was left to run overnight and then a final inspection was done. The Rate of the clock was calculated. This is done by counting certain gears and pinions the calculation tells you the rate of the clock in BPH (beats per hour). The clock runs at 3600 BPH. A pin was attached to the pendulum and run through an optical sensor. The pendulum was then adjusted to the correct rate.

16. A student has been shown how to adjust, wind and set the clock and sequence and time. It will be his responsibility to ensure the clock is wound and chiming in sequence. This will be passed on to another student next year.